Turn on Wi-Fi
Make sure the head unit is connected to your phone's hotspot. The installer downloads components from the internet.
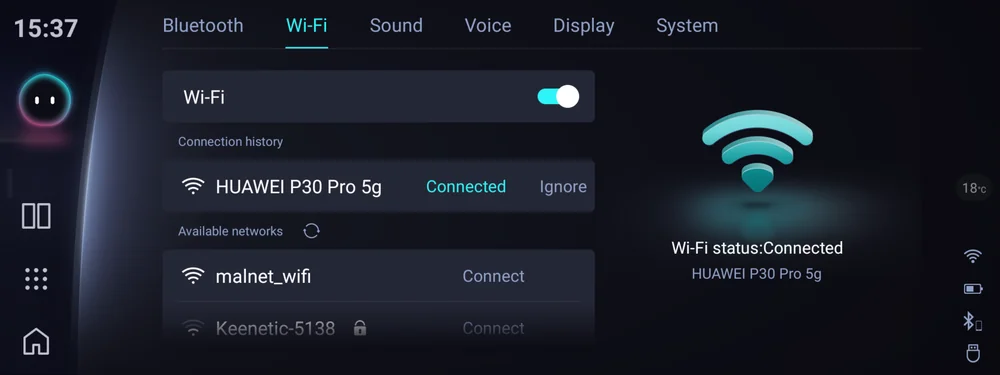
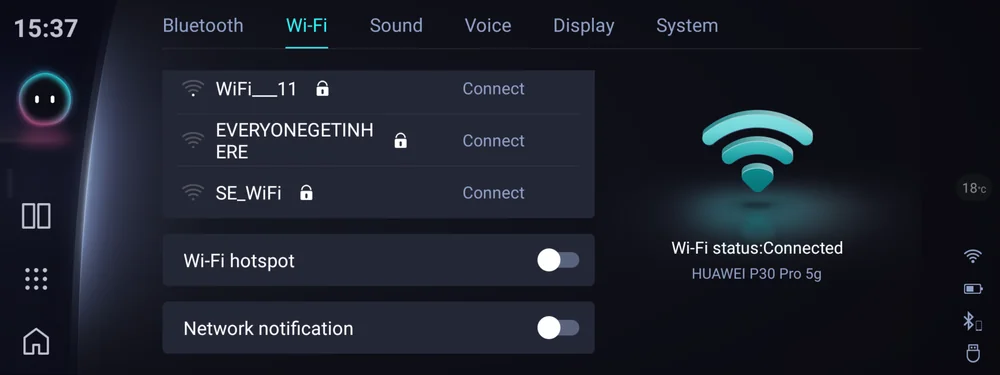
Turn off the hotspot
Switch the Wi-Fi hotspot off afterwards — otherwise the head unit connects to it instead of the home network and the installation fails.
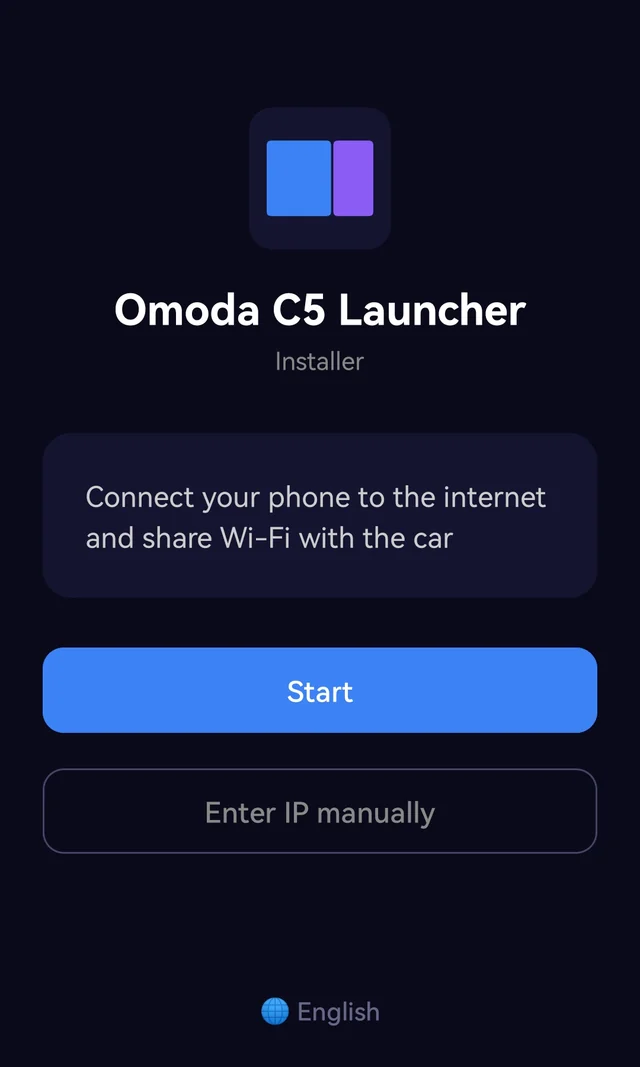
Run the installer
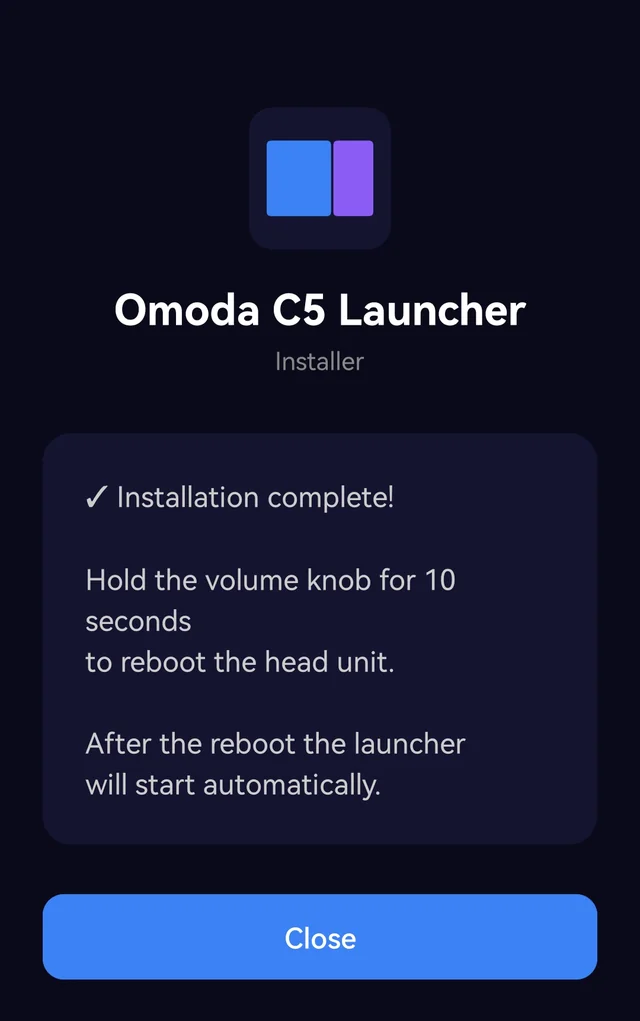
Download the APK from the site and run it on the head unit. Allow installation from unknown sources if asked.
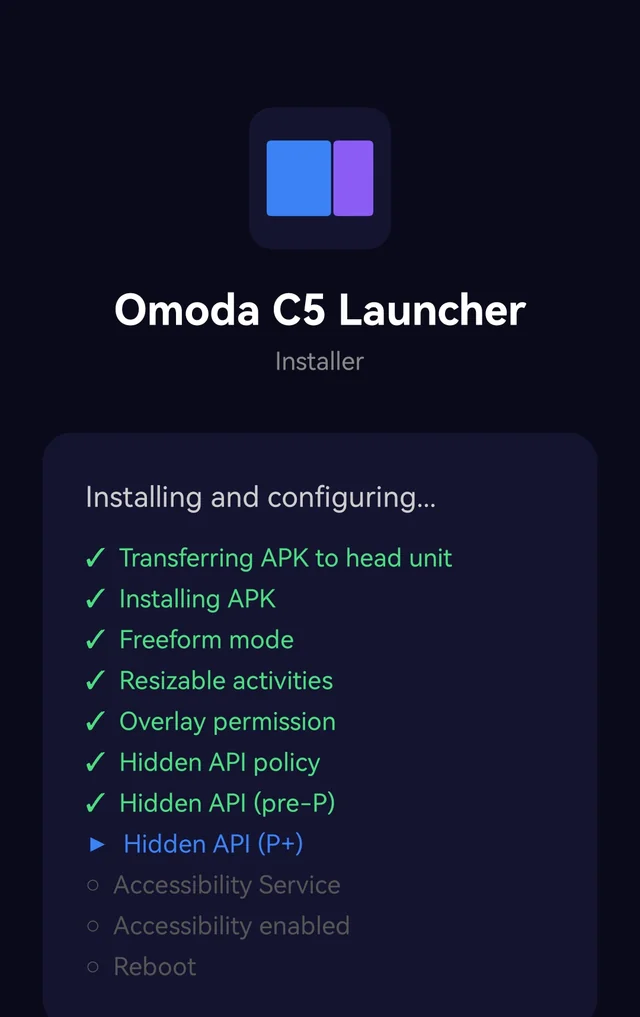
The installer does the rest
Do not touch the head unit. The installer downloads and configures every component automatically. It takes a few minutes.
Restart the head unit
When the installation is finished, restart the multimedia system. The launcher starts automatically.
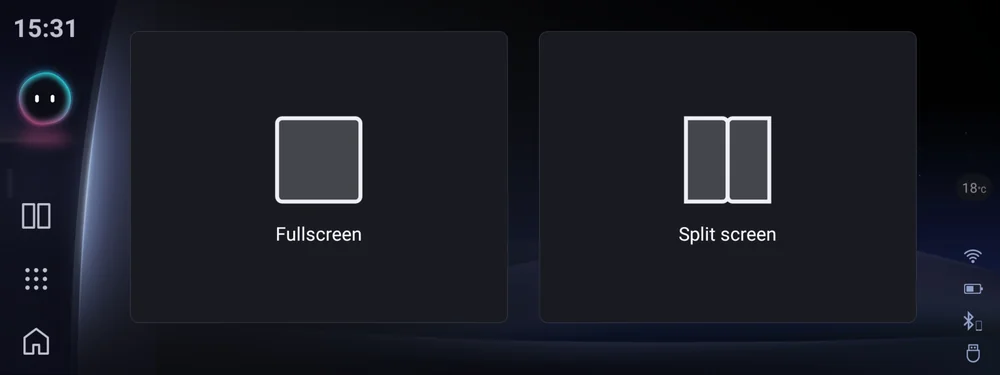
Create a preset
Tap “+” in the side panel. Choose the mode: Full screen for a single app, or Split screen for two side by side. Save with the tick.
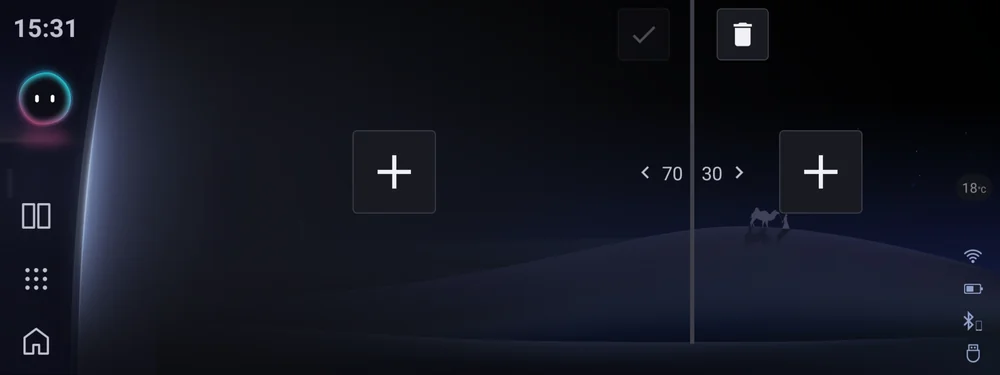
Adjust the screen ratio
In Split screen mode drag the divider. The range is 15/85 to 85/15, with magnetic points at 30/70, 50/50 and 70/30.
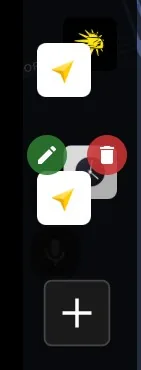
Manage your presets
Press and hold a preset to reveal the edit and delete buttons. Drag up or down to reorder. Autostart opens the first preset in the list.
Apps from the catalogue
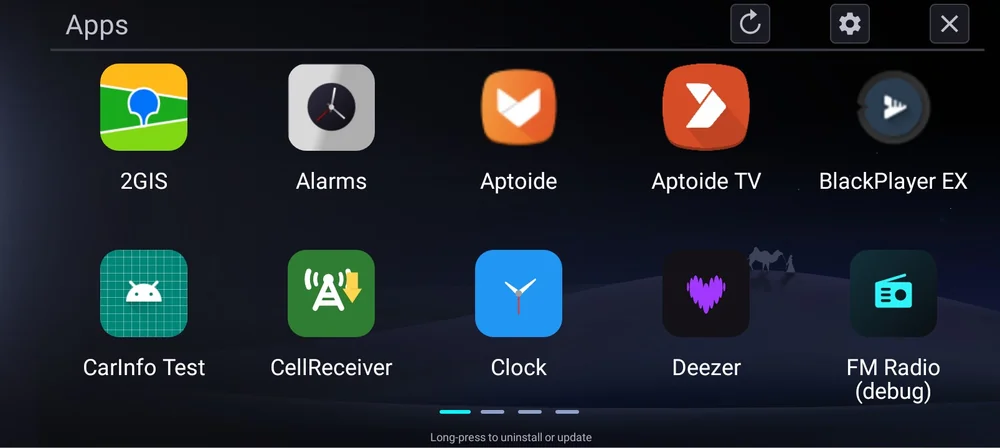
The “Apps” section shows what is installed and what is available. A padlock on the icon means the app requires a license. The “↻” button refreshes the list from the server.
“Back” button in full screen
When an app runs full screen, a semi-transparent “Back” button appears. Drag it anywhere you like — the position is remembered.
Install from a Windows PC
No Android device, or prefer a computer? Download LauncherInstaller on a Windows PC and connect the head unit following the instructions in the program, in whichever way is convenient. The installer downloads and installs the launcher for you.
$20 off the launcher
Buy the Wi-Fi activator and the launcher costs $80 instead of $100.